Crankshaft shimmed, torqued and installed.
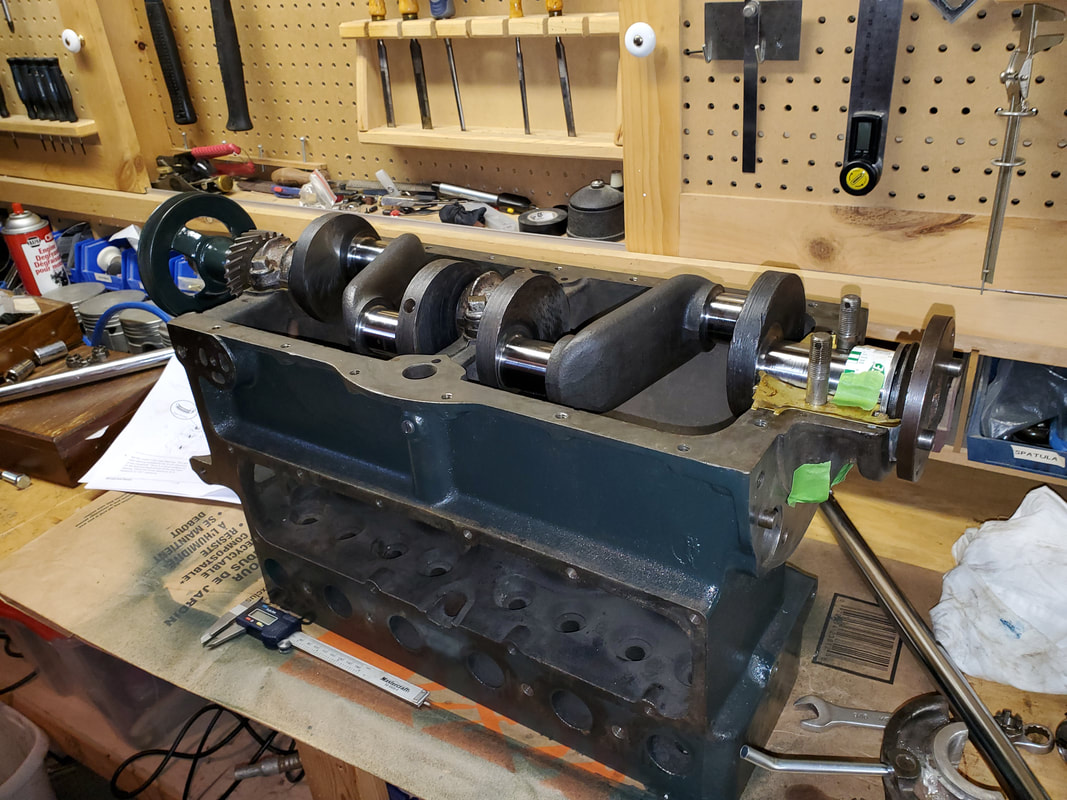 Crankshaft installed. | 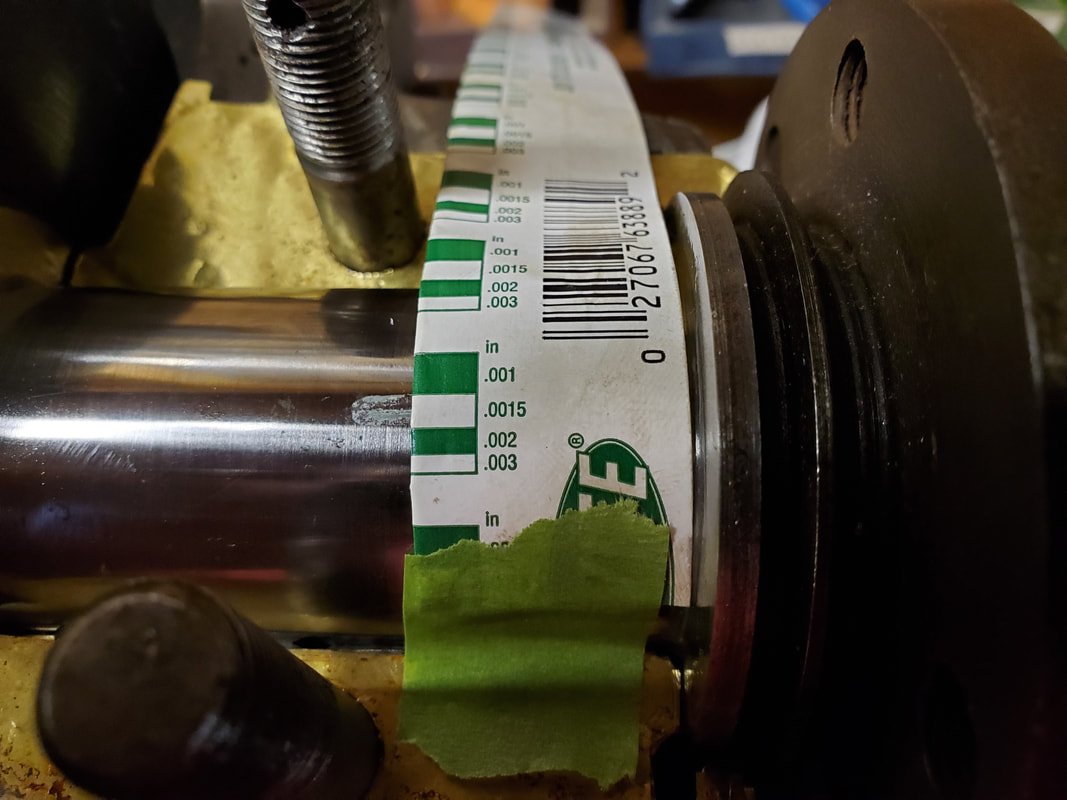 Plastigauge used to insure that the clearances are correct. |

|
|
|
Crankshaft shimmed, torqued and installed.
0 Comments
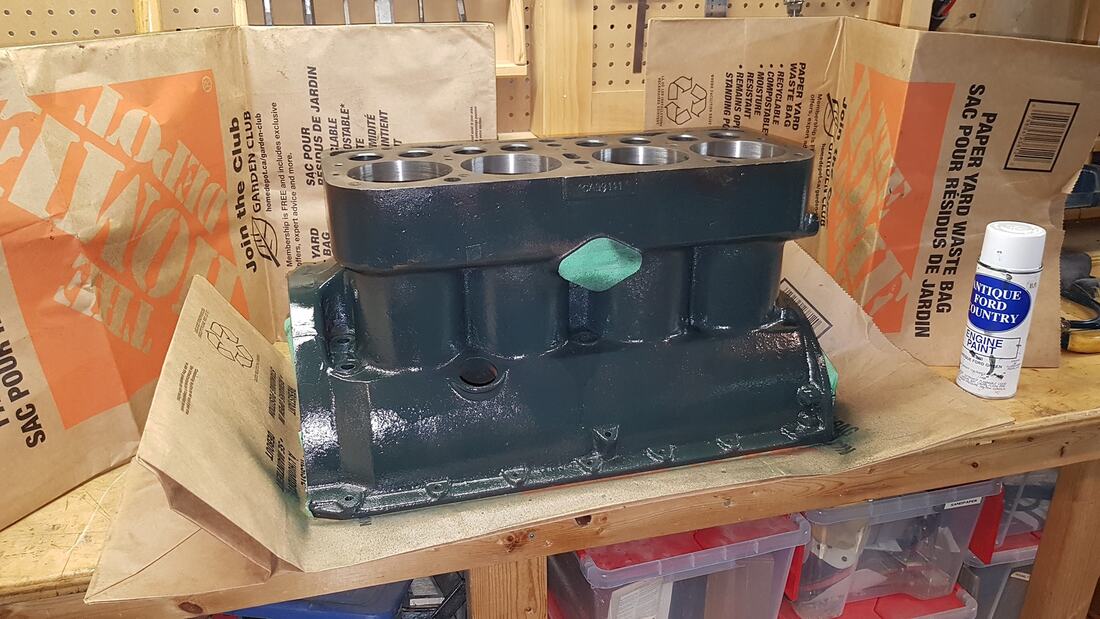
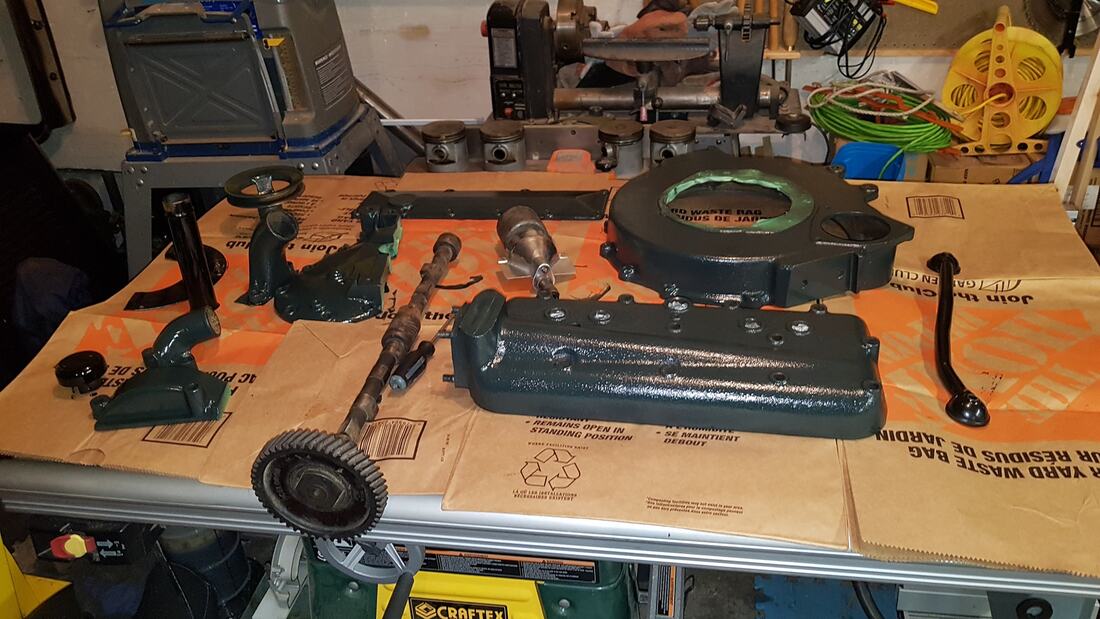
Today, I finished painting the engine and components. Once this lot is dried, I can begin the assembly process.
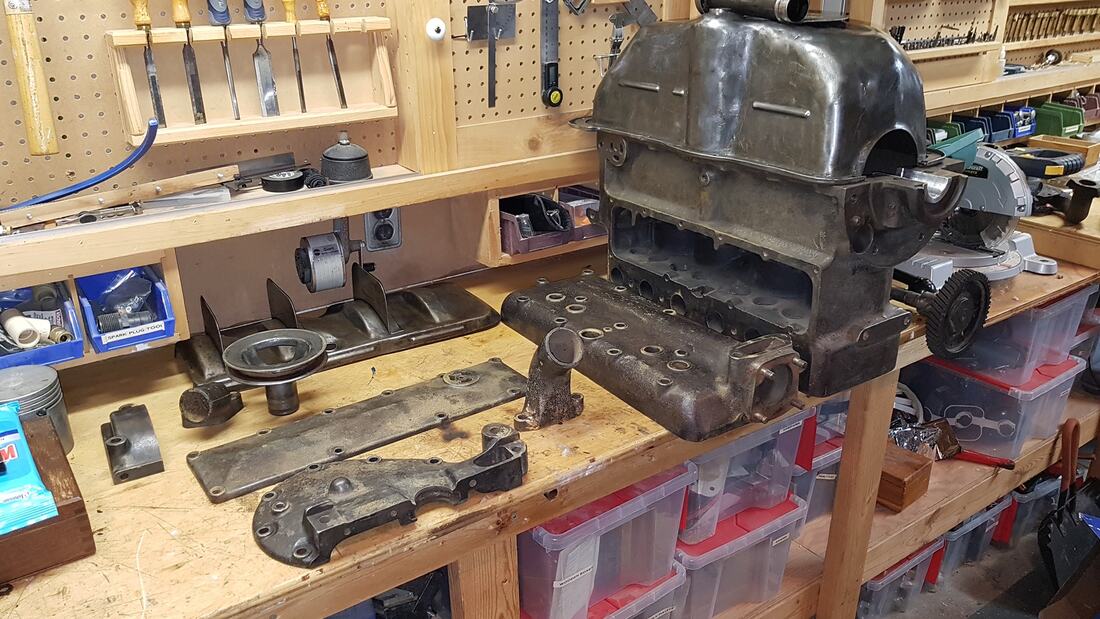
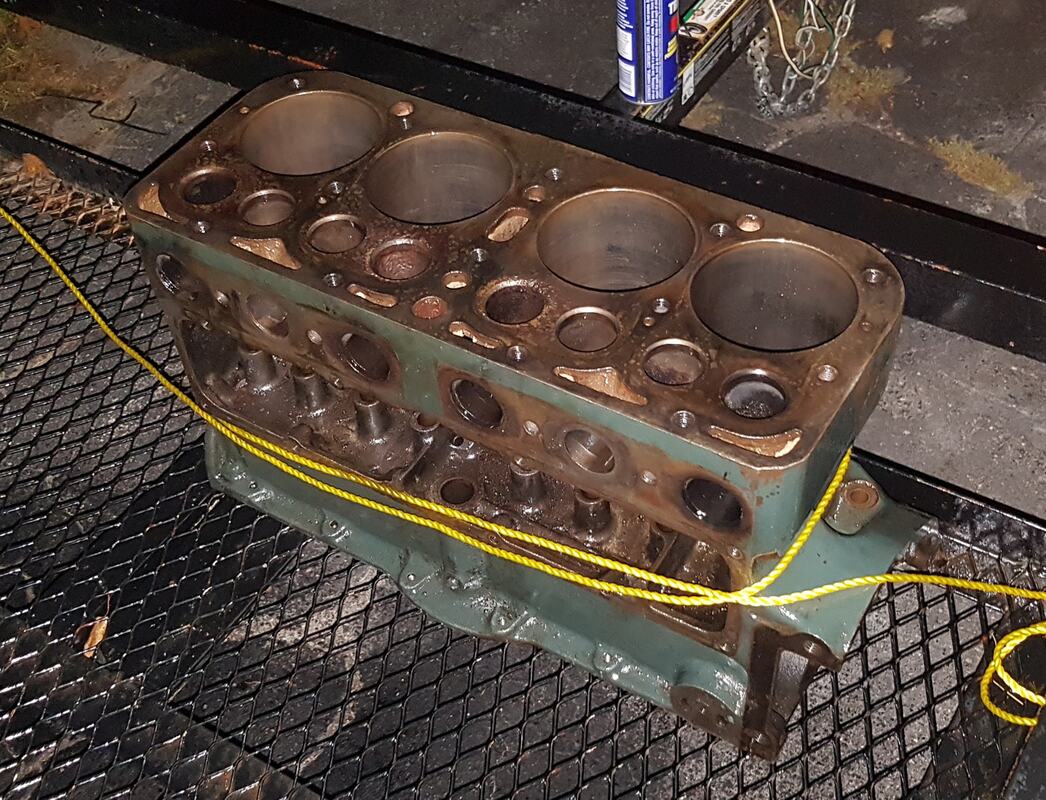
The block and parts are all cleaned up and now ready to paint. I have to fill in some pitting on the oil pan in the inside, so it doesn't leak, and there are a few dents and bangs that need filling so that it won't show once it's painted. After that is all done, I can assemble this baby.
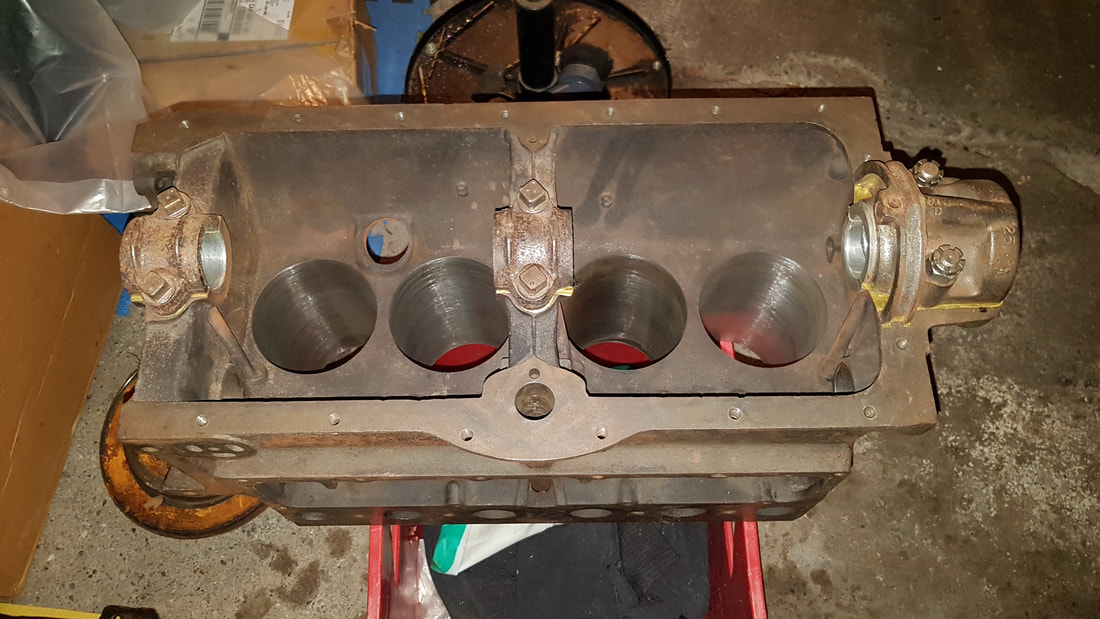
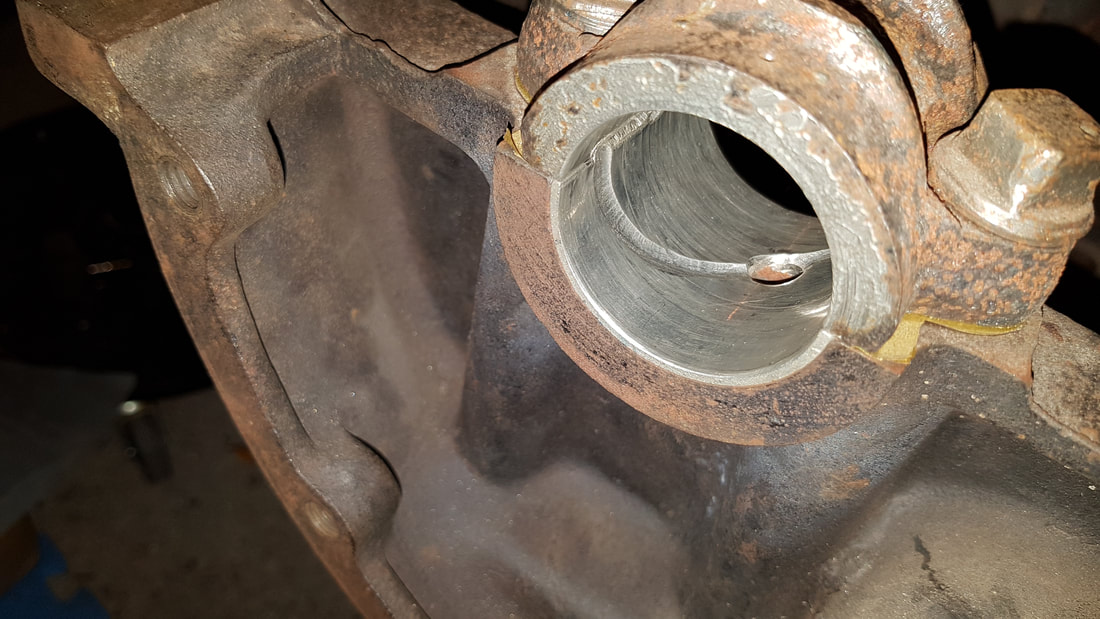
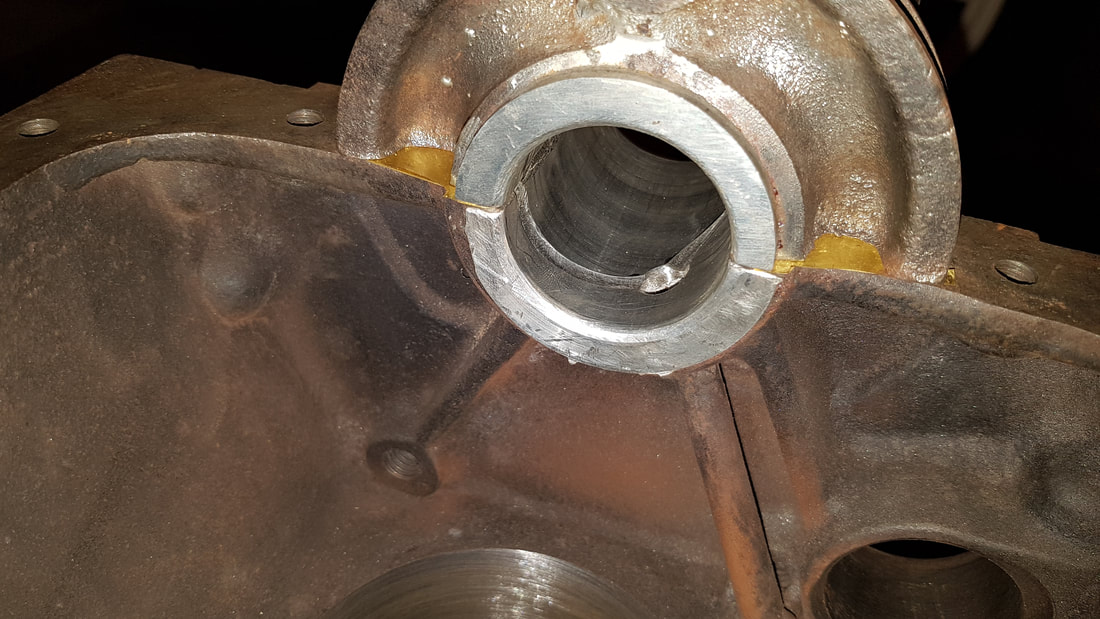
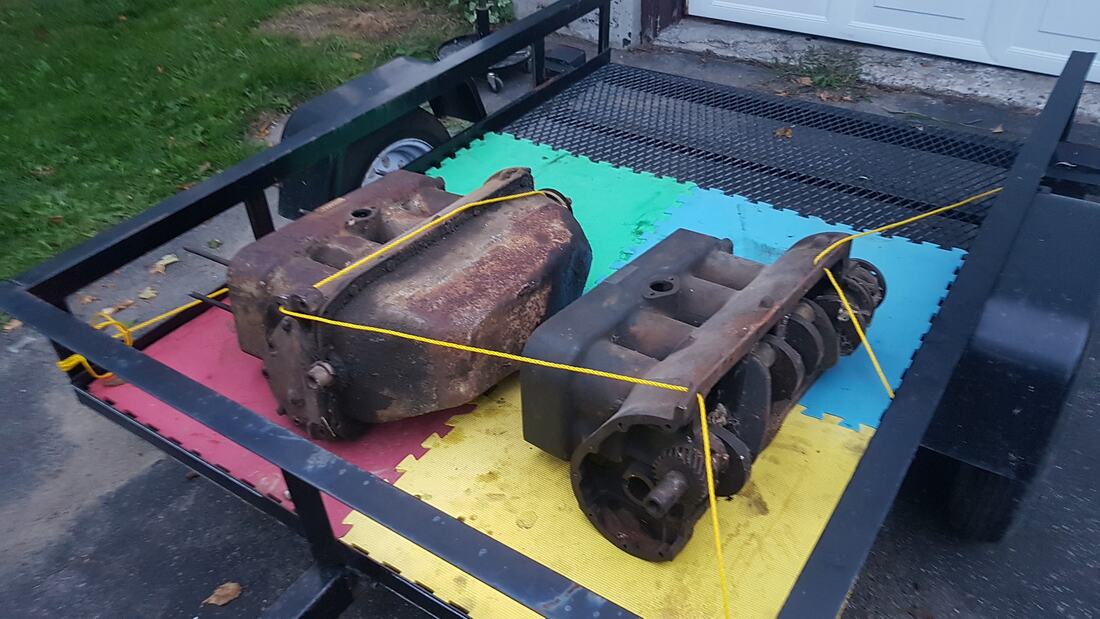
It turns out that both of the spare blocks have micro-cracks in them, in the same areas as the original block did. Rather than take the risk of having one of these overhauled and rebuilt, only to fail in a year or two, I decided to buy a known good block from the person doing the restoration. The price was reasonable and it should last a long time. Fortunately this one is also a 1930 engine, manufactured about a month after my original engine. 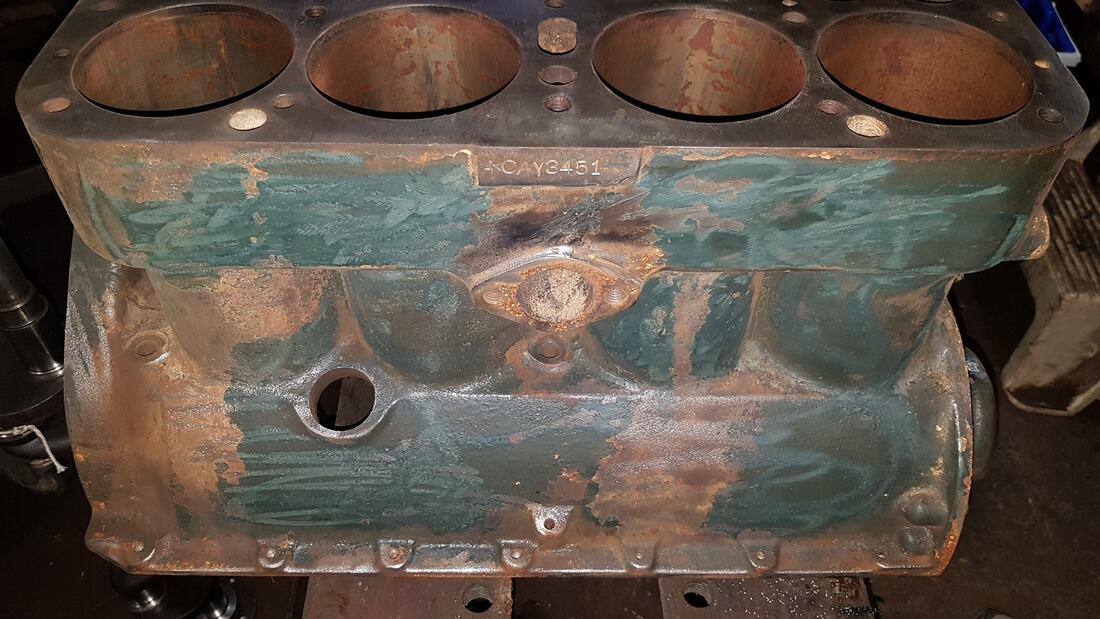 This will end up being my new engine for Veronica. While I am waiting for the results of my blocks, my friend Tom offered me a 1929 engine that he had lying around so I could build a spare. This engine was already been re-babbited and bored out, and it had the crank re-ground etc. All I need to do is assemble it and test. Since it is a 1929 engine, I would use this one temporarily until my other block is redone, as I would like to keep the car as close to original for the year it was made as possible. I have to order some parts to finish this off, mainly hardware and gaskets. It looks like my original block is not worth restoring because there are two cracks between the two exhaust valve which had the pitting, and the water jacket. Water must have came in through here over the course of many years and slowly corroded out the area in this region. These cracks could be repaired, but it would be cost prohibitive to do so. So, I took my two spare engine blocks up instead, to see which one (if any) is best for Veronica's engine overhaul. I brought back the old block. Not sure what to do with it. Maybe I will make a version of the Top Gear table with it!
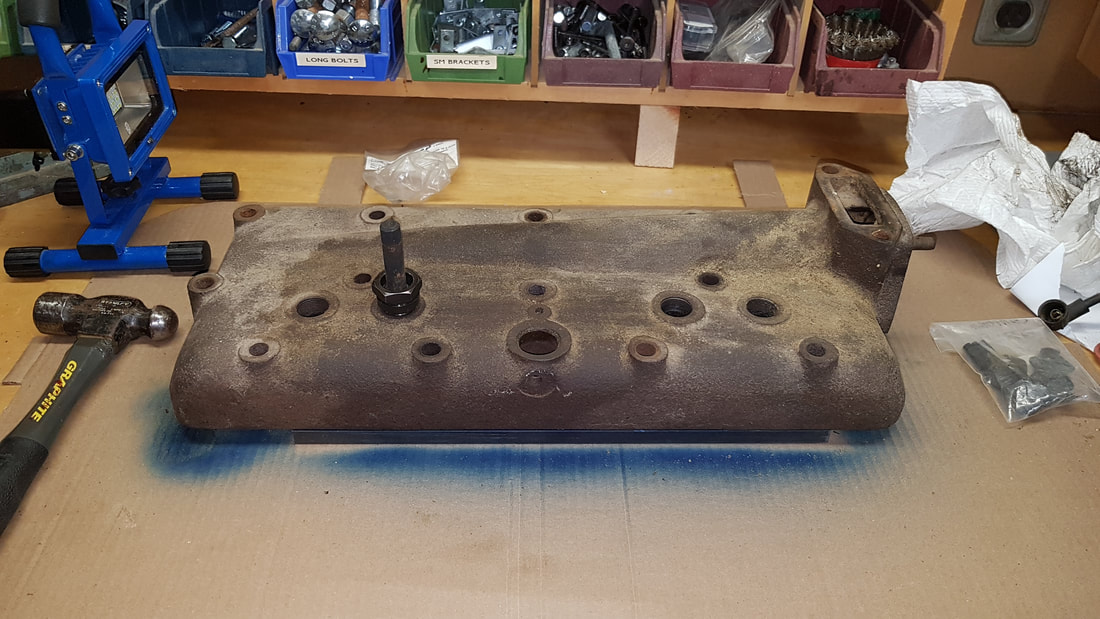
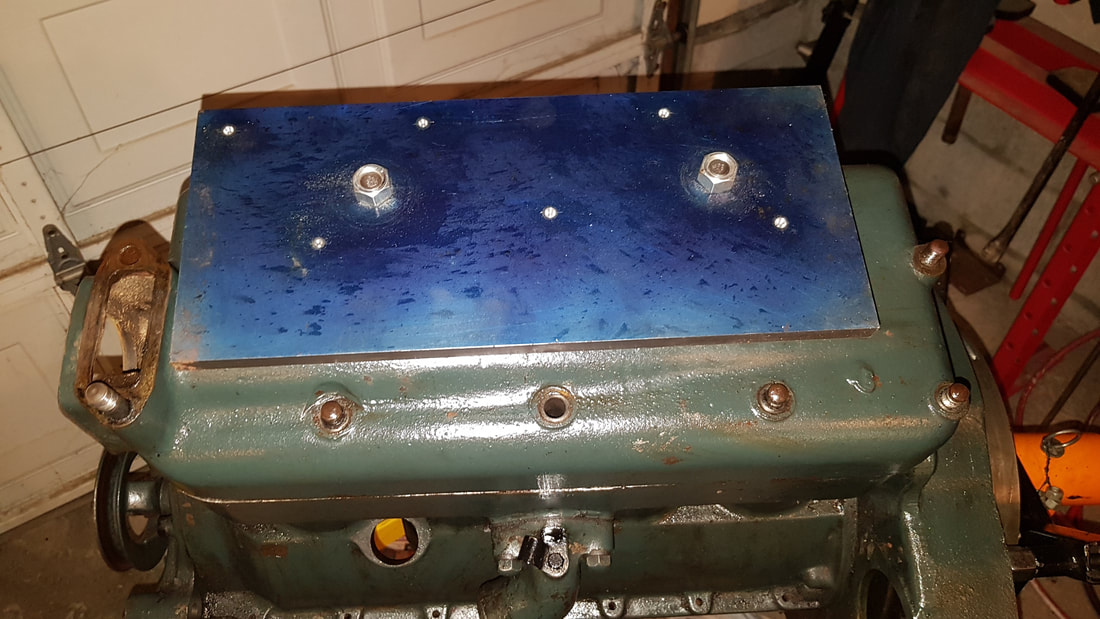
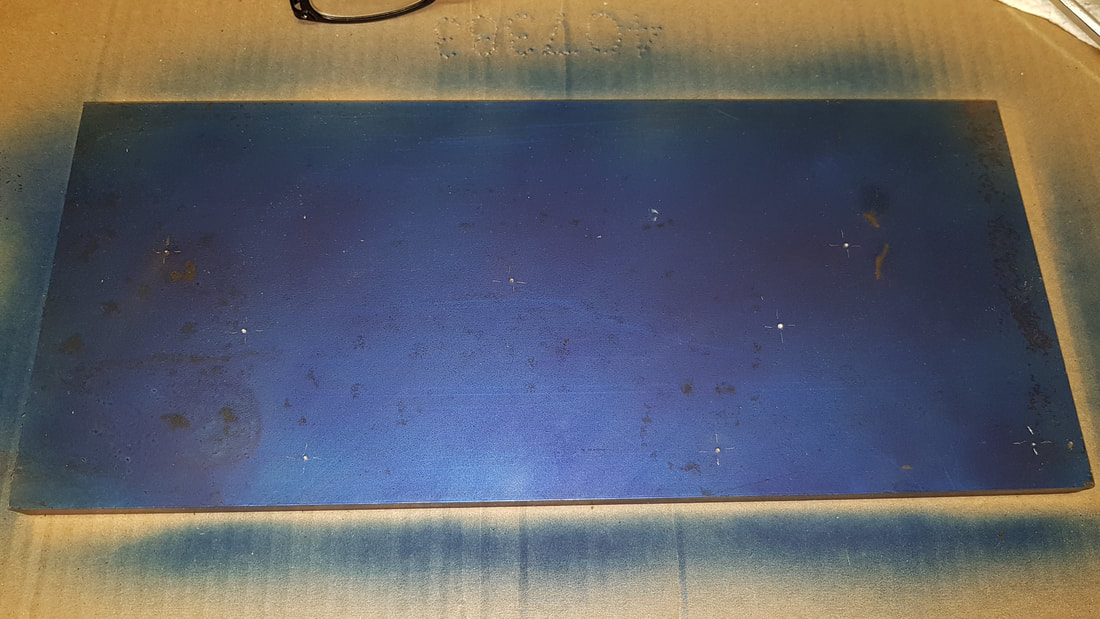
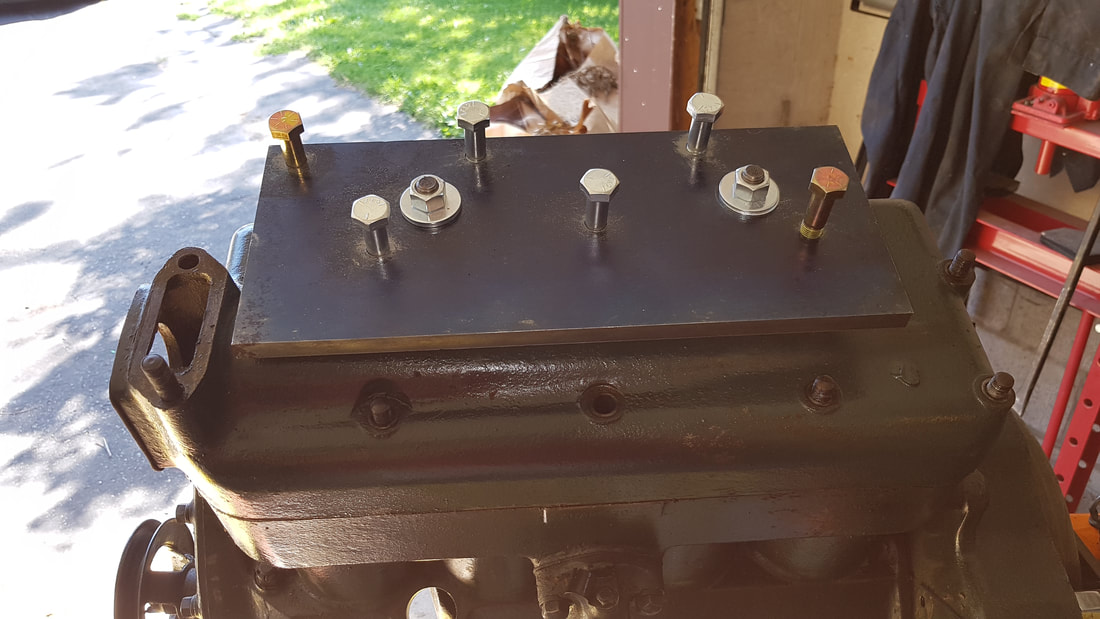
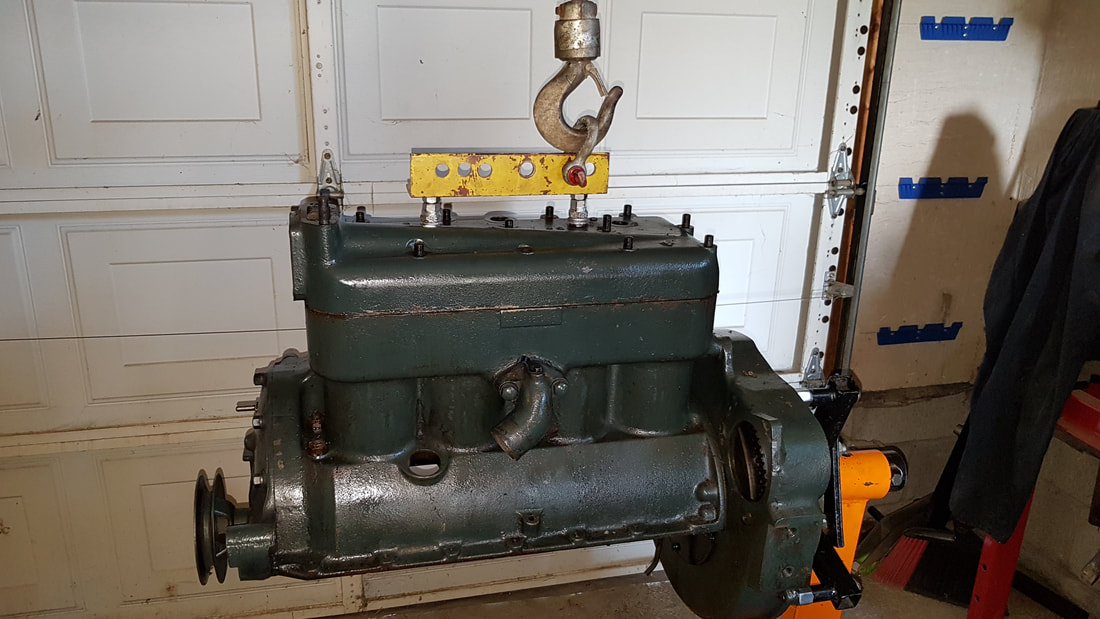
Upon further inspection, it looks like all the babbit needs to be replaced as it is near the end of its life, and not fixing it now, would mean pulling the engine in a few months or at best, next year, to do more work. I found a person in Lindsay who is willing to overhaul the engine. He came highly recommended from members in the club. Today I dropped it off with him to have it magna-fluxed and checked out to see if it is worth restoring. I should find out the verdict in the next few days. If it turns out to be a show stopper, I have two spare blocks I can try instead. 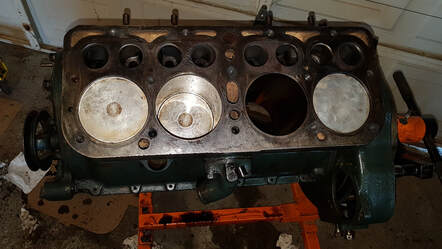 In order to replace the piston rod on the #3 piston, I need to take the cylinder head off. That is no easy task... unless you have the right tool. Many people have used putty knifes and lots of patience to remove stuck heads, but after spending an hour doing that, I decided there must be a better way. At first I tried using the wieght of the engine itself to help, but that wasn't enough to break decades of bonding between the head, engine and the gasket. So, I decided to build a special tool to help pull the cylinder head off of the engine block. Tomorrow I should be ready to try it out. It is a relatively simple device. A flat piece of thick metal with some bolts passing through it which would press down on some of the head studs, while two engine lifers placed in the #3 and #2 spark plug hole are attached firmly to the plate. Fortunately I had a spare cylinder head lying around, so I could use that to layout the bolt pattern. The pictures below show how it was made.
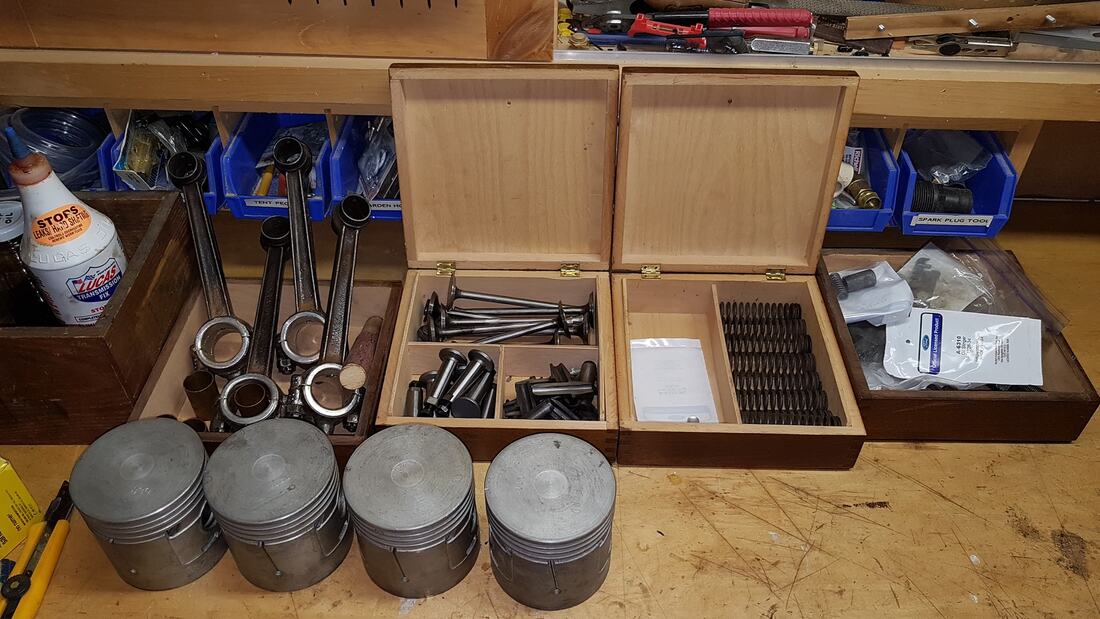
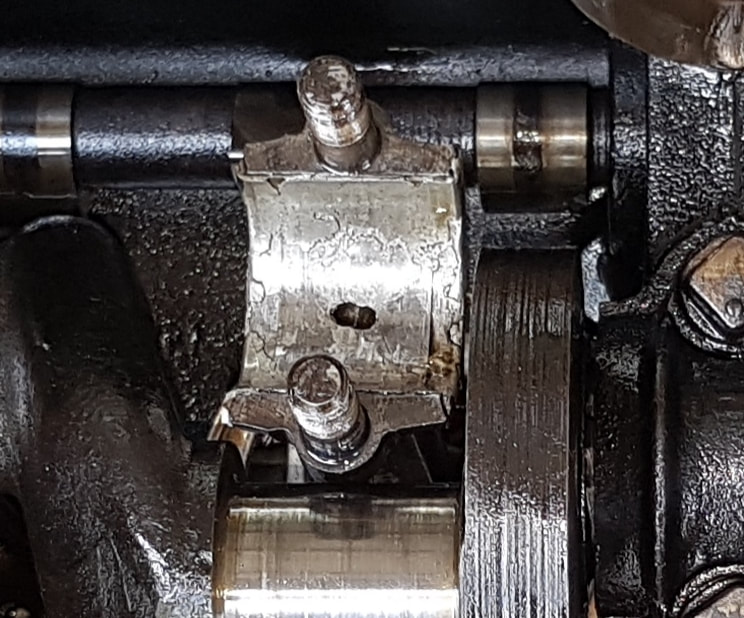
About a month ago, I visited a high school friend up in Orillia (~130 km away). She had come up to visit her family and I decided to meet them using the Model-A as it was a nice weekend to do so. Things were going pretty good, but as I got closer to my destination, I started to notice a sound coming from the engine that I had not heard before. It disappeared when the engine was under load, but would reappear when she was going steady on a flat piece of road. On the way back from my visit the noise got loud enough to hear when I was at a stop light. Then I knew for sure that something was not good. I made it back home and left the car over night before attempting to run it again. Unfortunately the noise was still there. Consulting one of the many Model A books I have, it sounded like it could be something to do with the piston rods. Hopefully it meant removing a shim from one of the rods. I had a feeling it might be more than this, so I decided to borrow my friend's engine lift and remove the engine for a proper inspection. We did however determine that the metallic sound appeared to be coming from piston #3. I am on vacation this week, so I have time to finally look at this. Today, my friend Tom and I pulled the engine out and inspected the underside. Turns out that piston #3's babbitt is deteriorating. At this point, we should be able to fix this problem. My friend Tom should have some spare pistons with good connecting rods which we can swap out this one with a good one. With any luck we should be possible to get the old girl back on the road in time for this weekend's tour
Yesterday we had a car show at work to raise money for autism. The weather wasn't the greatest, but the turn out wasn't that bad. |

AuthorCharles Baetsen holds a Bachelor and a Master's degree in Engineering Physics from McMaster University in Hamilton, Canada. Archives
February 2024
Categories
All
|
 RSS Feed
