
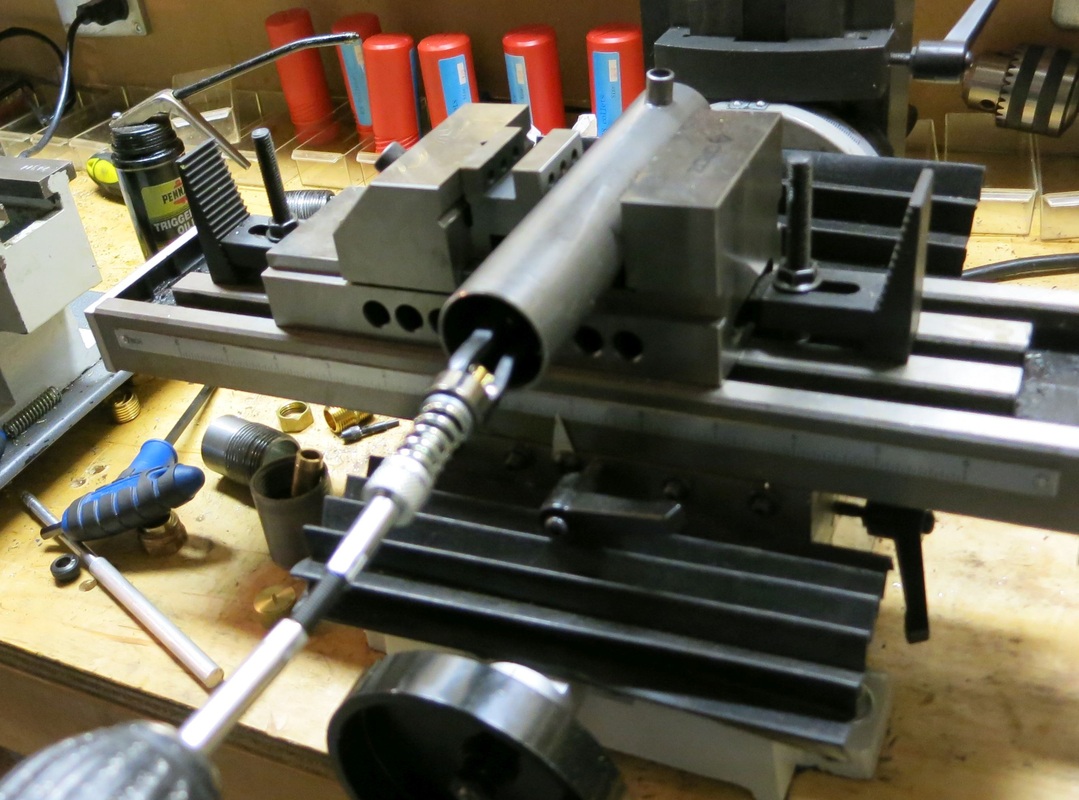
Today I finished up machining the piston. This was by far the most complicated and nerve wracking part to make. Lots of tricky operations and lots of opportunity for bozo moves! Any one of them would have set me back to starting with a new piece of round stock. A few times I got stumped for a bit while I figured out how to proceed. Fortunately I think I have succeeded on the first try.
I am almost done. All that remains is to construct the valve actuator (tapper) and to finish work on the wooden base.
I am almost done. All that remains is to construct the valve actuator (tapper) and to finish work on the wooden base.
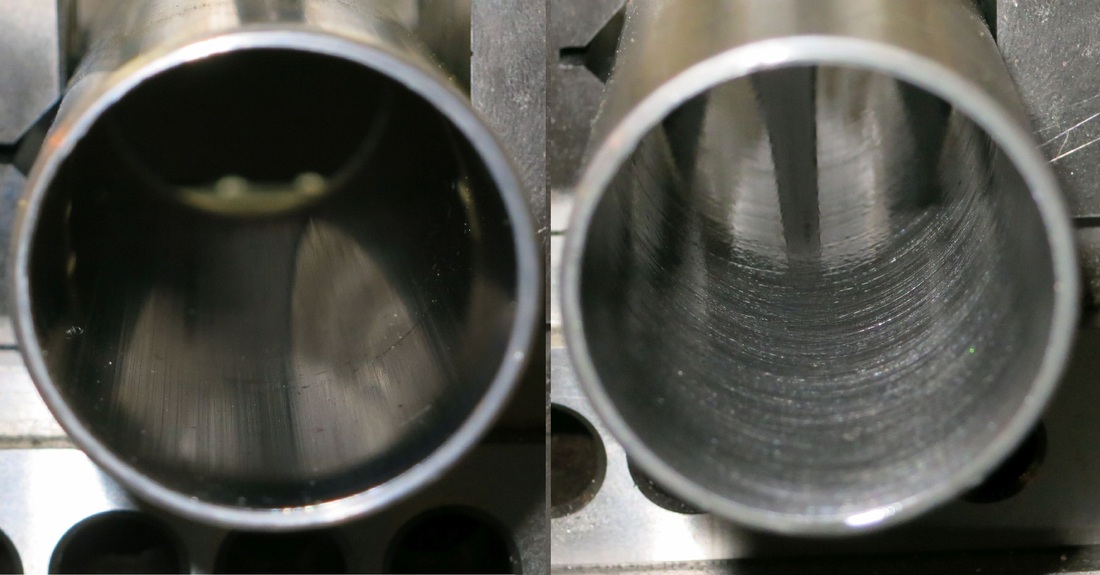
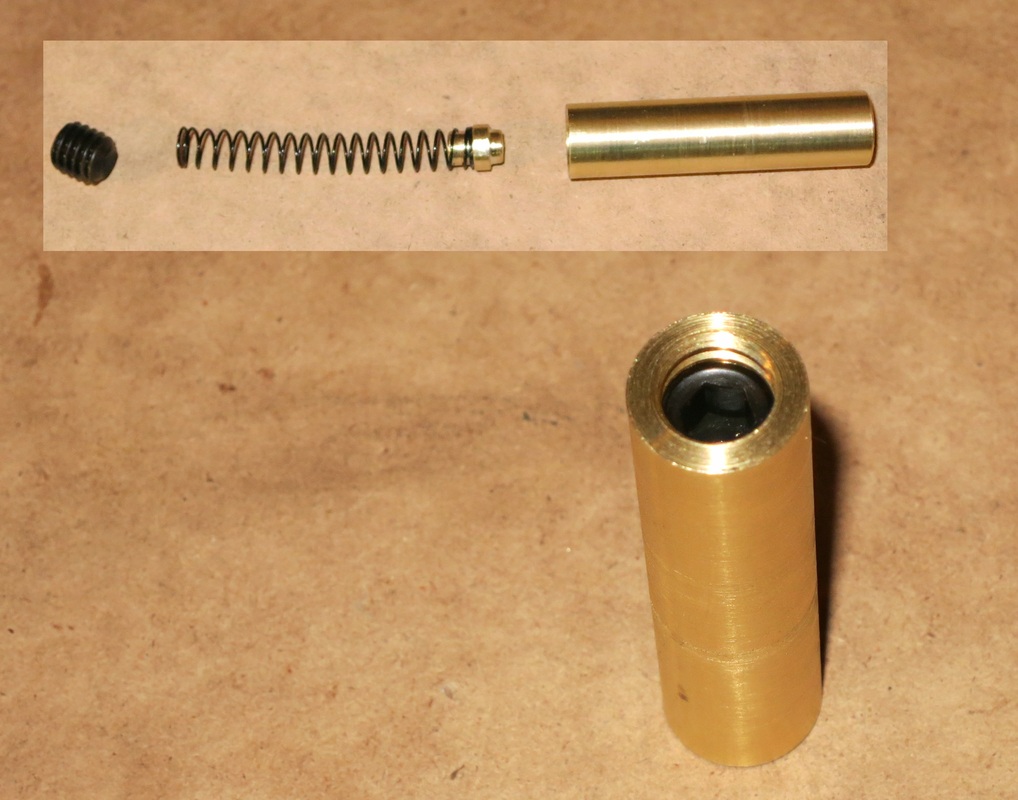
 Here is the piston after I made the recessed area on the back for the connecting rod and wrist pin to sit in. |  Finished piston. |


 RSS Feed
