
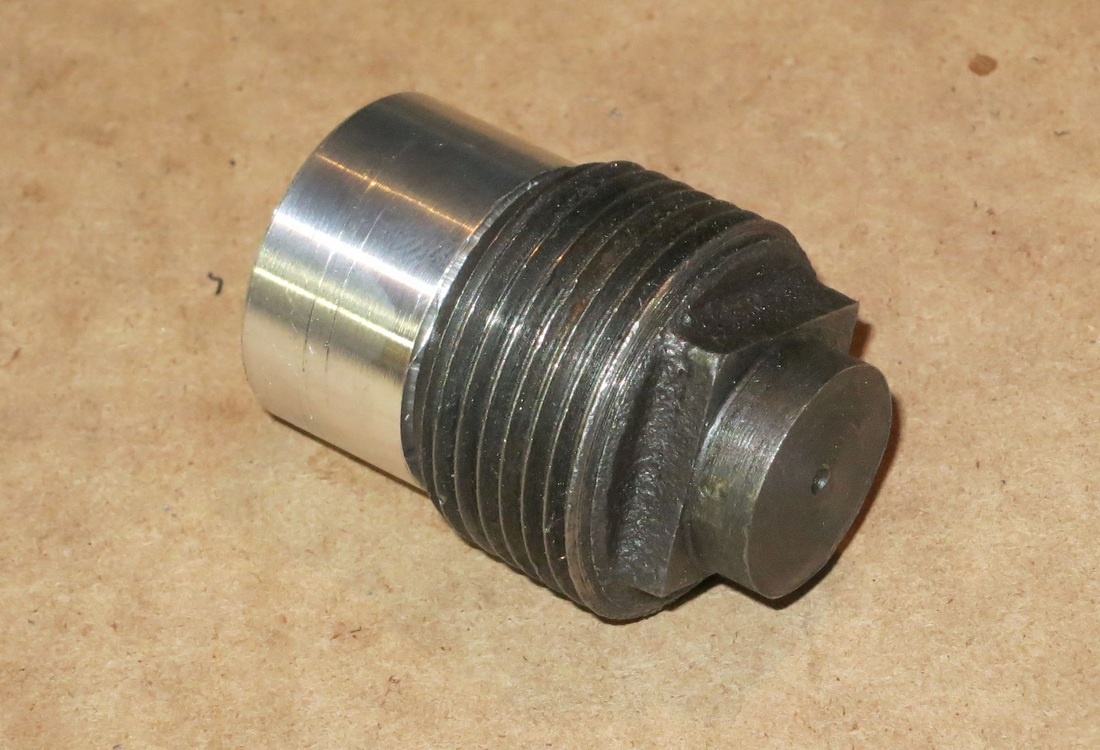
Upon further examination of the threaded part of the check valve I did yesterday, it seemed the tap was inserted a bit cockeyed, so this had to be abandoned or redone. I picked up a second 1/2" NPT non-return valve, but instead of threading in the bushings, cutting them flush and re-tapping them, I decided to bore out the 1/2" NPT threads on each end to 0.8" diameter (0.300" deep). SImilarly, I I machined down the new 1/2"->3/8" bushings to 0.8", (which is just below the point where the hex head becomes round. Using just the top 0.3" of the bushings. I inserted these into the two holes I bored out and soldered them in. This worked brilliantly, and I did not tap anything. I inserted the spring (as per Leon Ridenour's instructions), thus the intake valve is now complete.
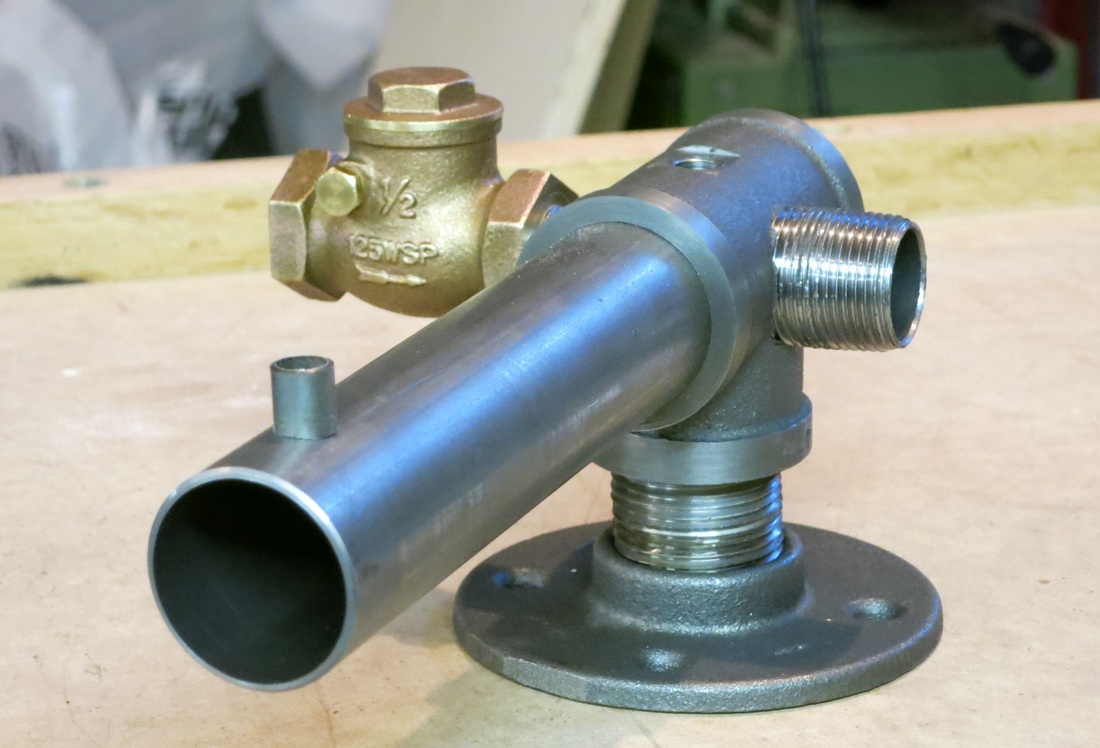
The next step is to modify the 3/8" street elbow and to begin working on exhaust valve.
The next step is to modify the 3/8" street elbow and to begin working on exhaust valve.

 RSS Feed
